Sarasota & Lakewood Ranch, FL(203) 628-5997office@toppaintingremodeling.com
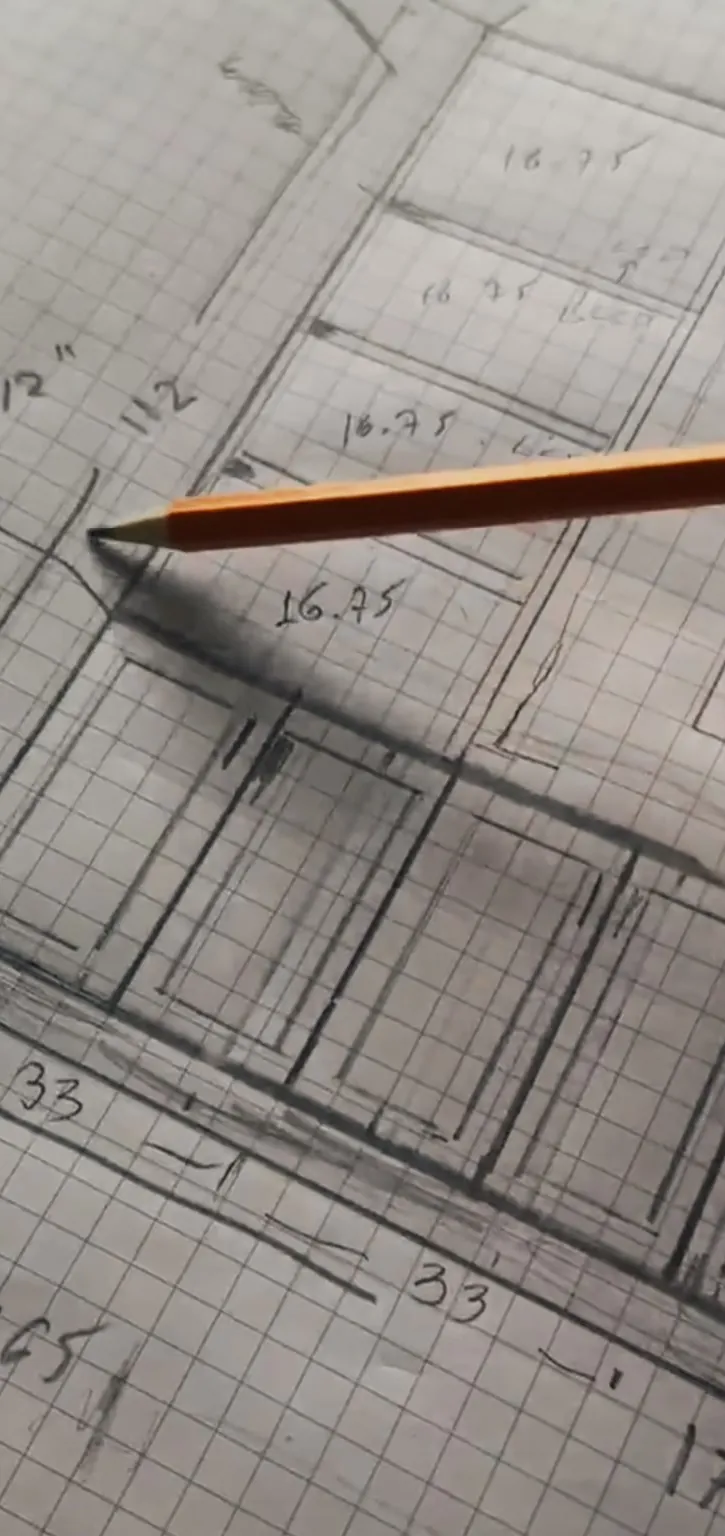
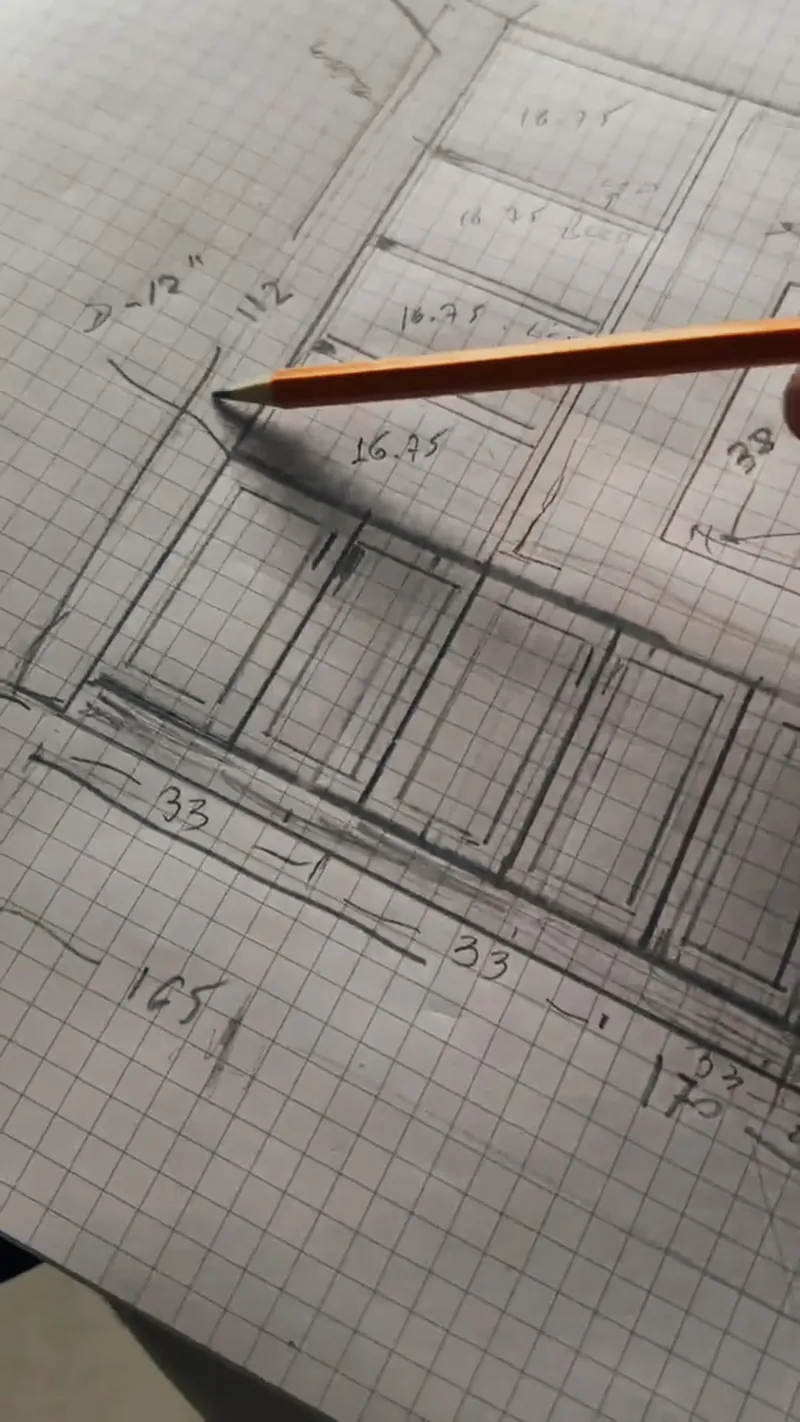
A pencil sketch of a wall on graph paper, with the first measurements written in
How we design

Our Design Process in Sarasota: Drawn First, Then Built.

Your reference, our measurements, a sketch by hand and a drawing to scale. Nothing gets built until you approve it.

  • Every measurement in inches
  • Eight choices, made with you, one at a time
  • Your room, your design, your approval

Get Your Design in Sarasota or Lakewood Ranch

No cost, no obligation.

Have photos? Email them to office@toppaintingremodeling.com.

Your contact details
Your project
Where is the home?

Chapter I · How we design

Six Steps, One Wall.

From your first photo to the finished wall.

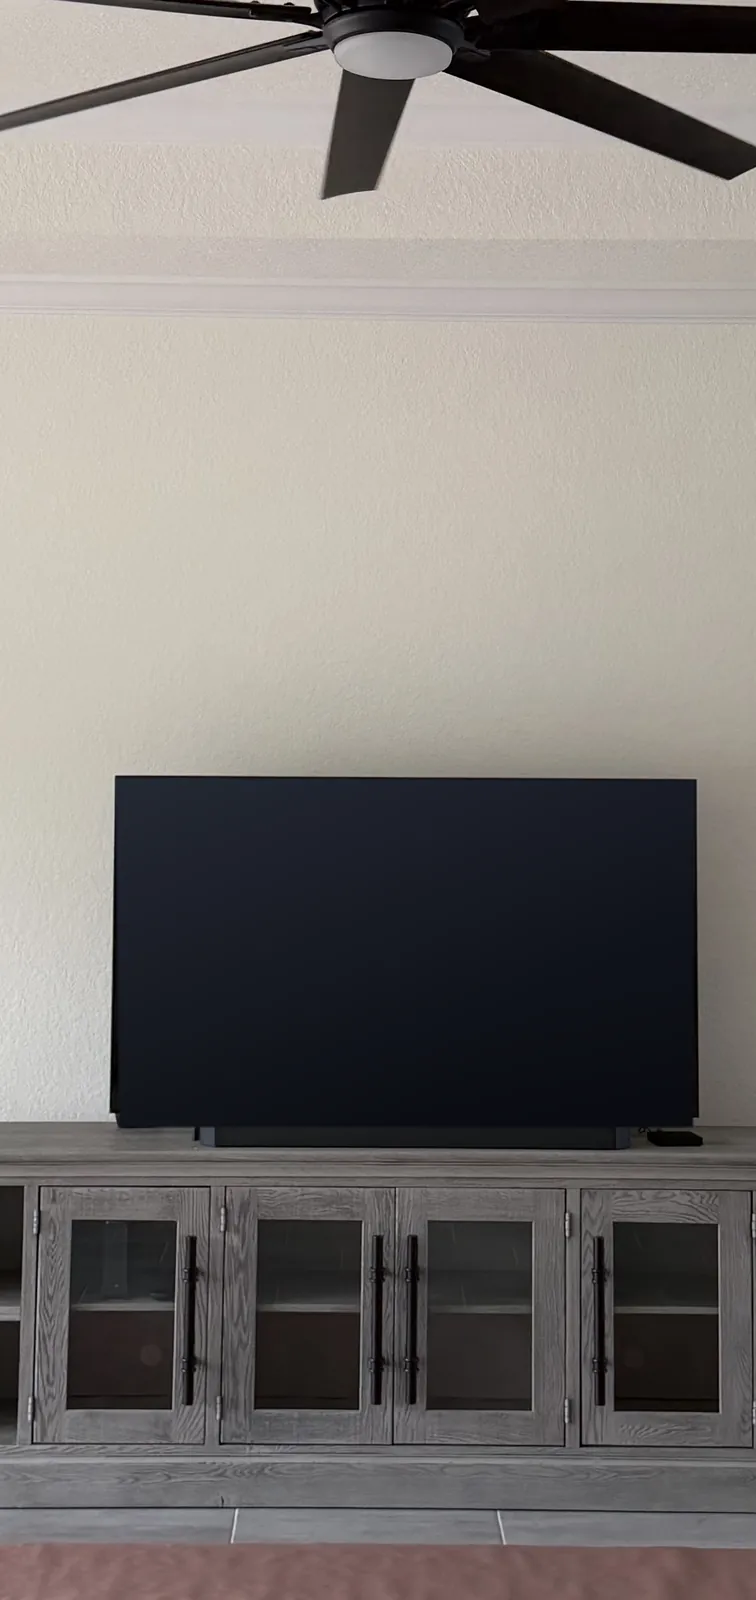
  1. A plain living room wall with a TV on a console, before the project

    Your reference

    Send photos of your wall and the walls you love. Or ask us to design it.

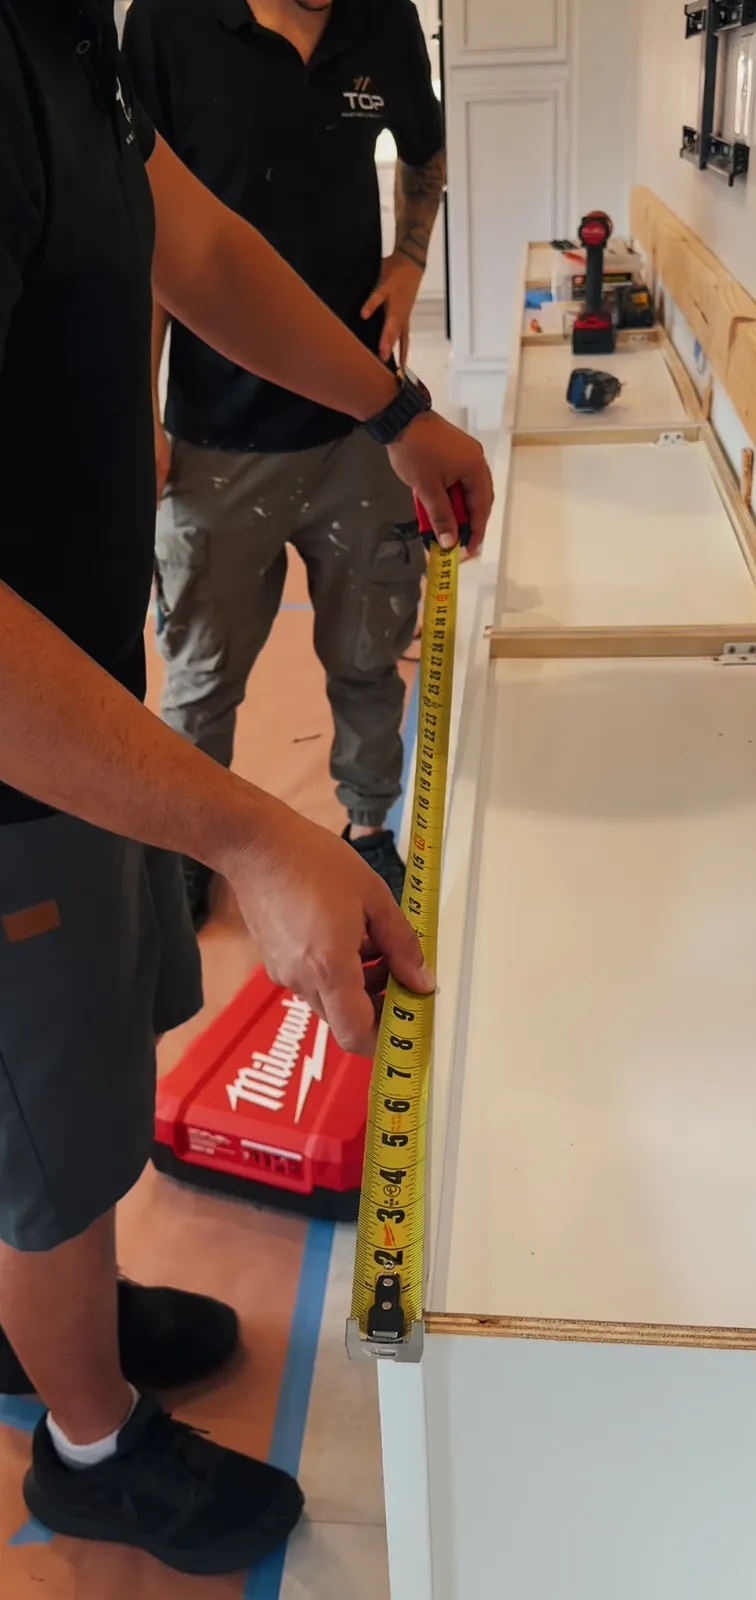
  2. A tape measure running along a cabinet base during measuring

    We measure

    In your room, with a tape measure, a laser and an architect’s scale.

  3. A pencil sketch of the wall on graph paper with measurements

    The sketch

    Drawn by hand, from those measurements.

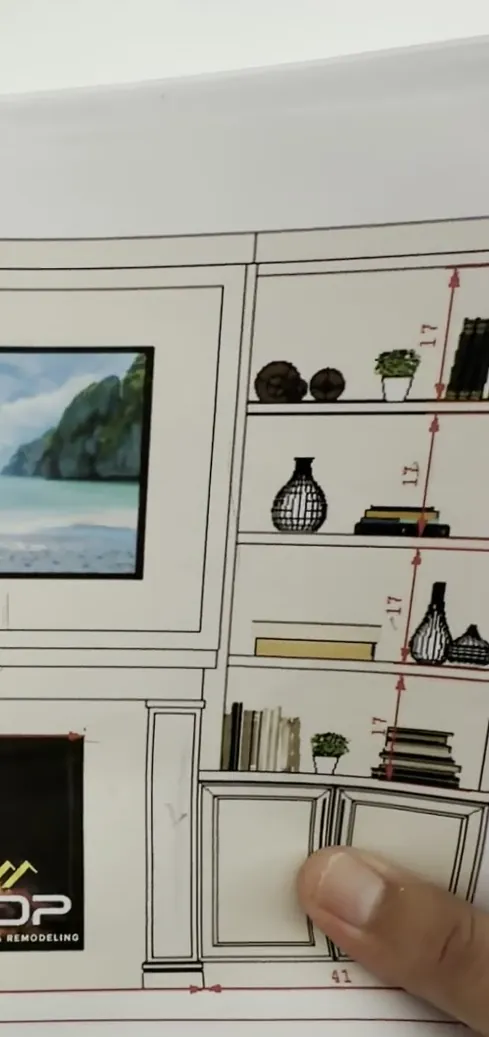
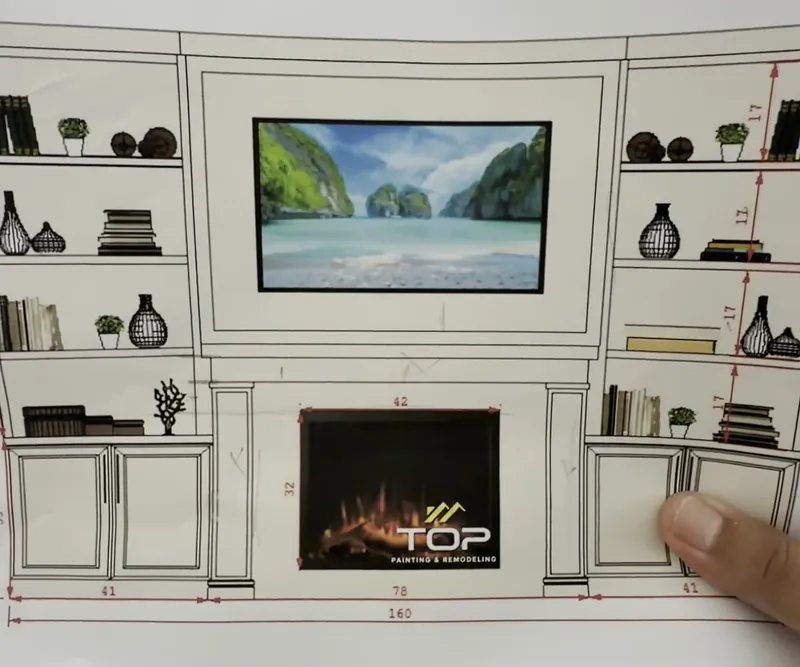
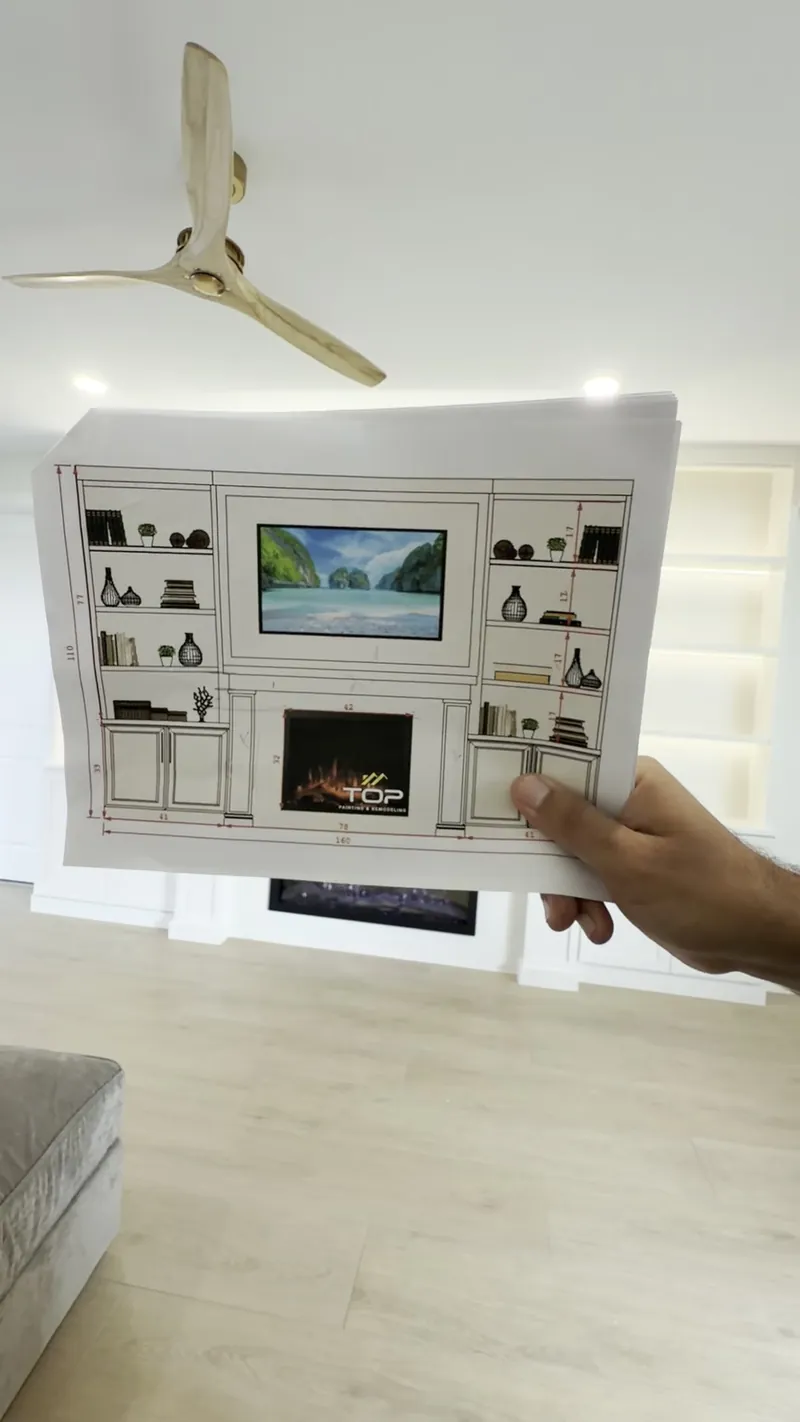
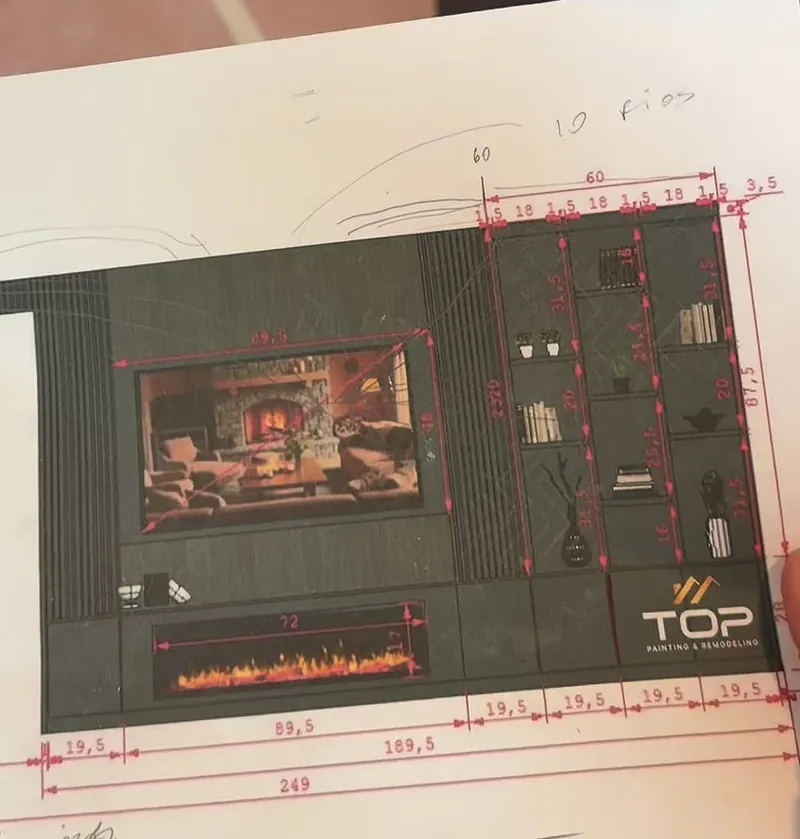
  4. A printed elevation drawing of a built-in wall with measurements in inches

    The drawing

    Our designer draws the wall to scale, every measurement in inches.

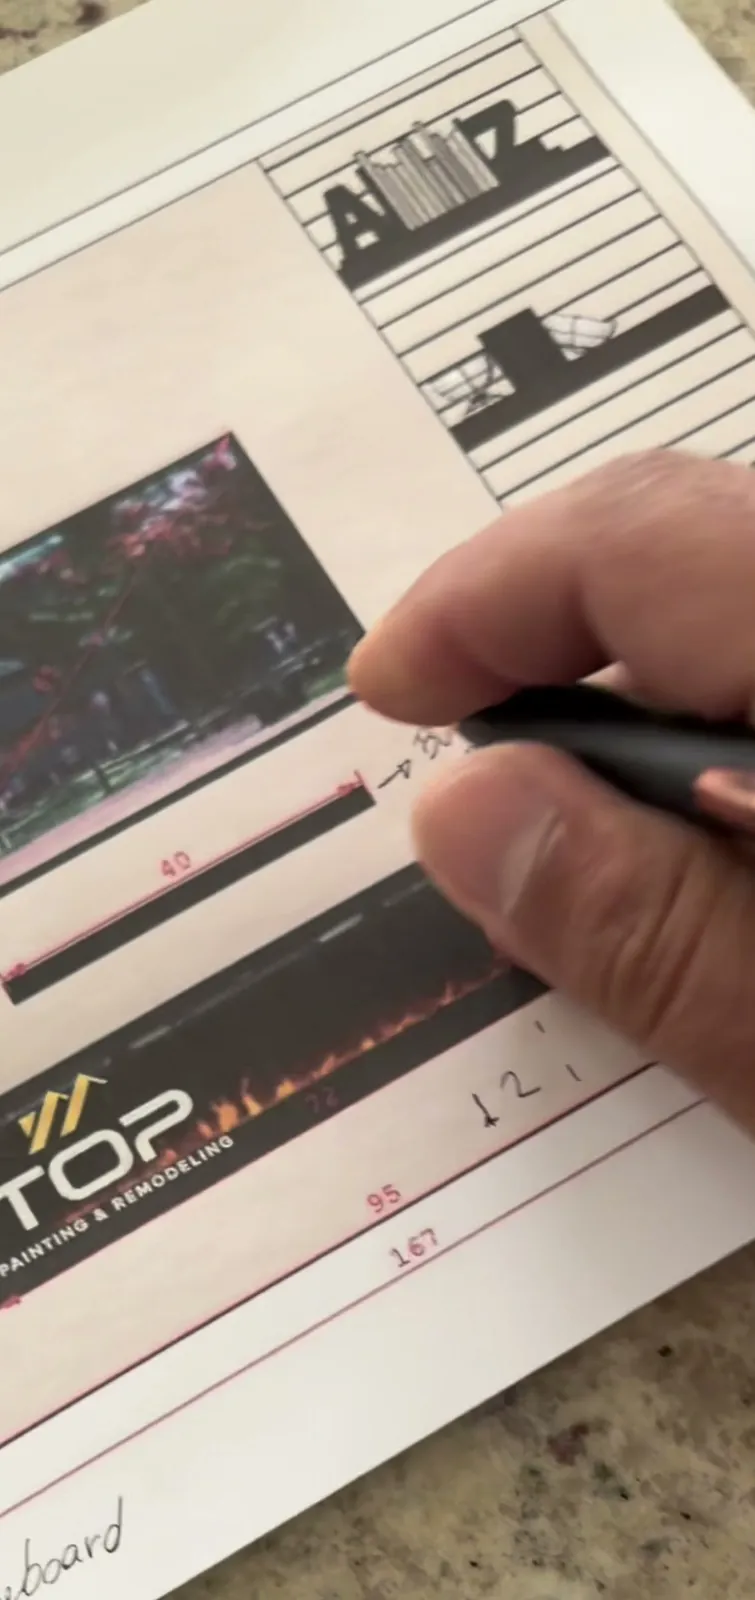
  5. A pen marking changes on a printed drawing

    You approve

    Hold the drawing next to walls we’ve finished. Change what you want on paper, then approve it.

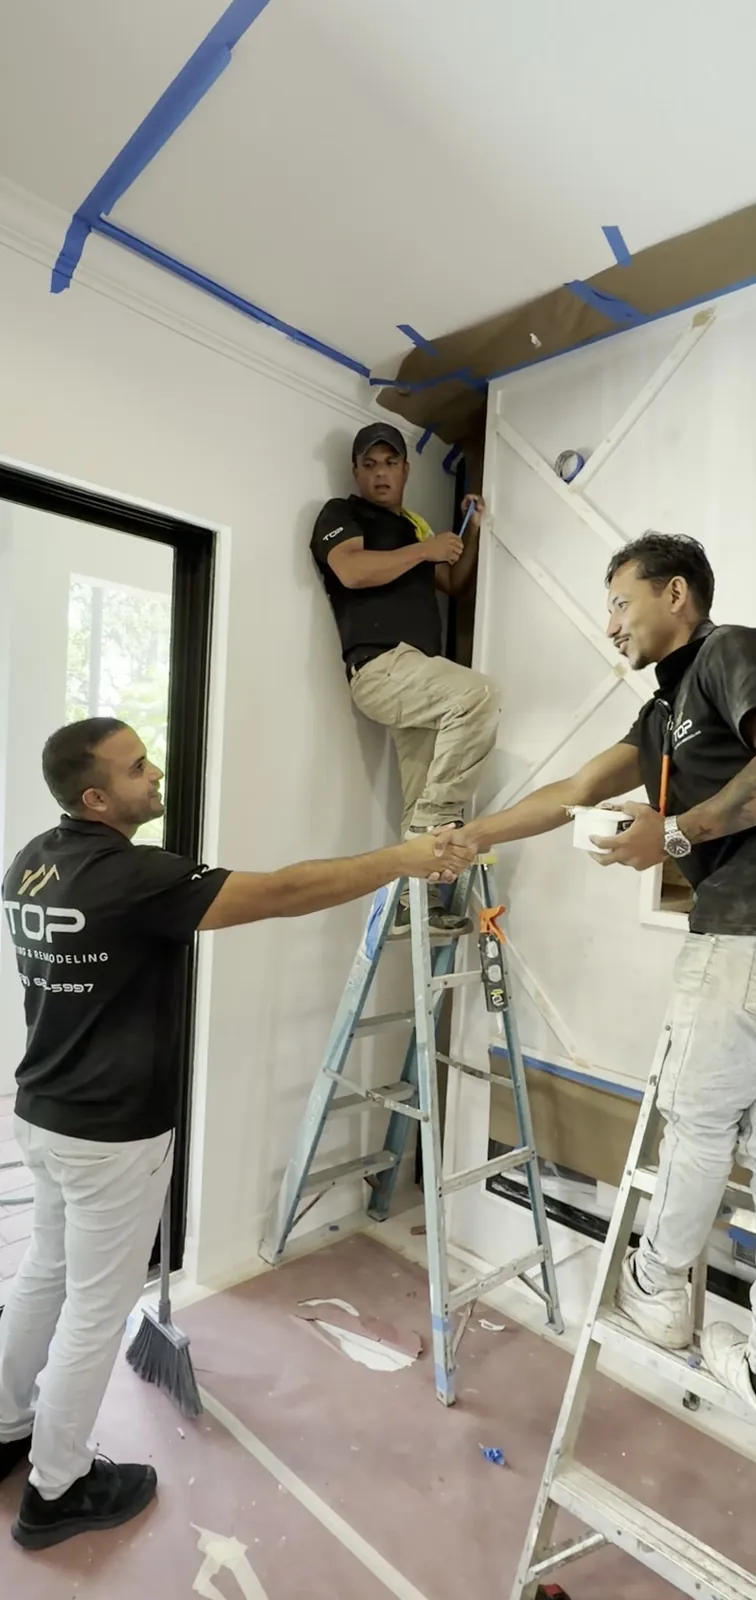
  6. Two team members on ladders building a feature wall

    We build

    Frame, stone, shelves and light, built to match the drawing.

Chapter I · Pencil to wall

From Pencil to Wall.

The measurements are set on paper before anything is cut.

Pencil sketch on graph paper with the first measurements
01The sketchBy hand, on graph paper, with the first measurements.
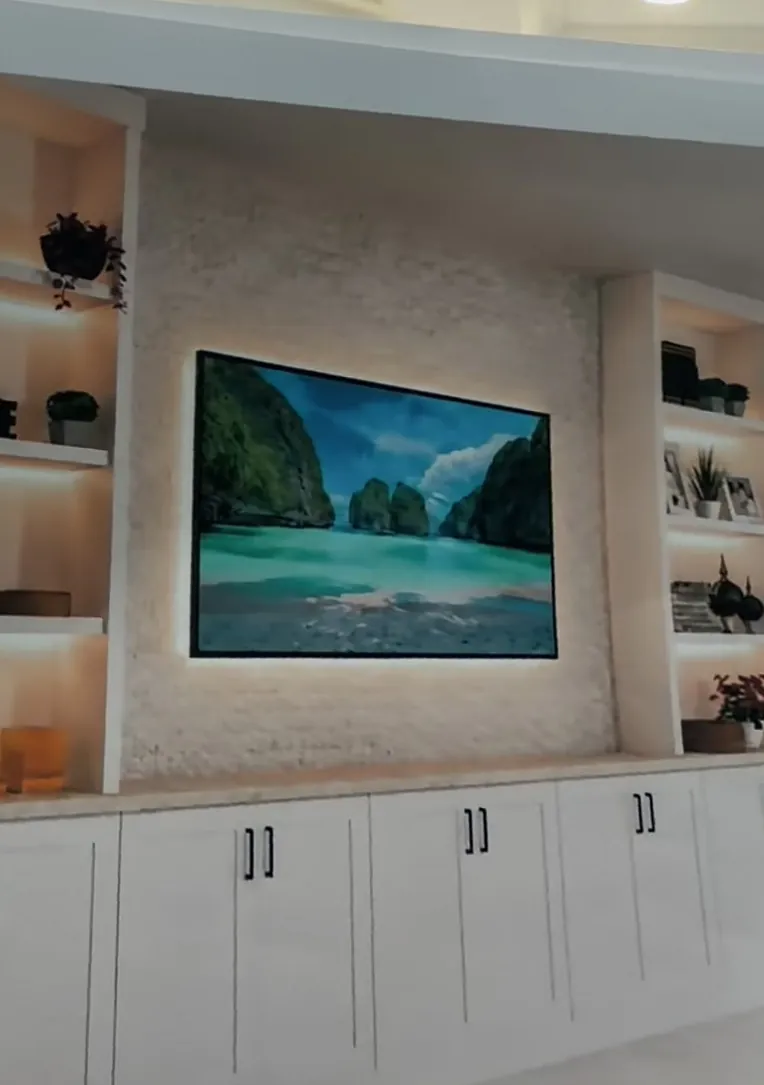
The full-color drawing, printed and held up in the room
02The drawing, in colorFor this wall, a full-color drawing, printed and held up in the room.
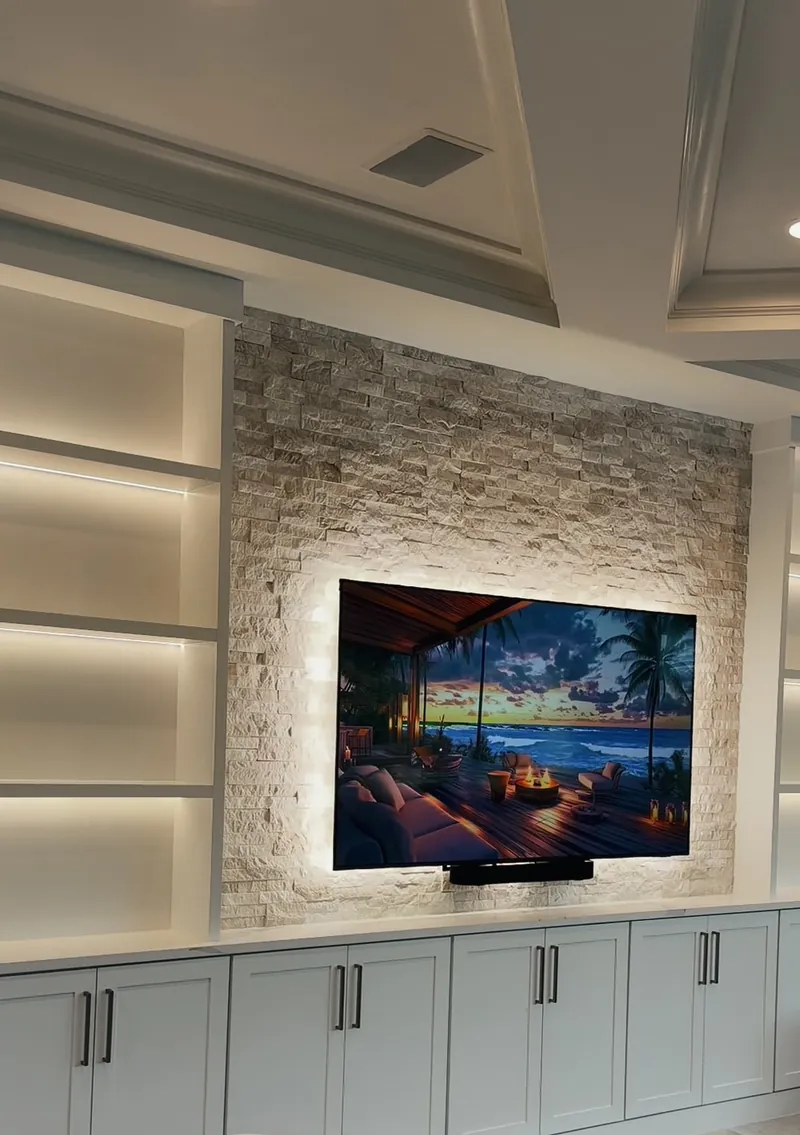
The finished stone TV wall with white lit towers
03The wallBuilt to match. No. 08 · White Tower Media Wall.
Chapter I · Drawing to wall

The Drawing You Approve. The Wall You Get.

When the drawing is right, the build is simply making it real.

The printed elevation drawing of the wall, every measurement in inchesThe drawing
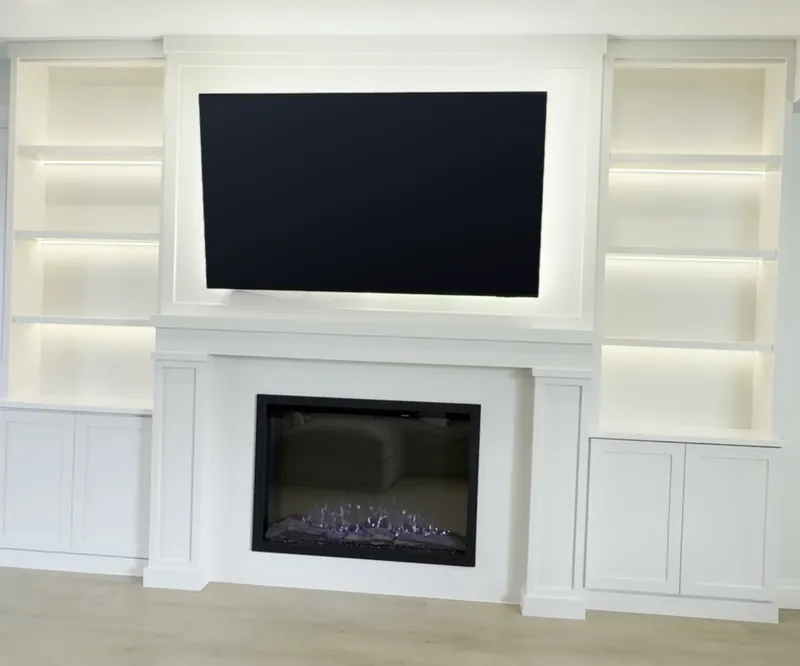
The finished wall from the same angle as the drawingThe finished wall

The drawingEvery measurement in inches

The finished wallNo. 04 · White Pilaster Surround

Get the drawing right, and the wall follows.

The drawing sets the layout and the proportions. Colors are chosen with you.

See this wall
The same drawing held up in front of the finished wall
The same drawing, held up in front of the finished wall.
Chapter I · Drawn first

Two More Walls, Drawn First.

Every detail here was decided before anything was cut.

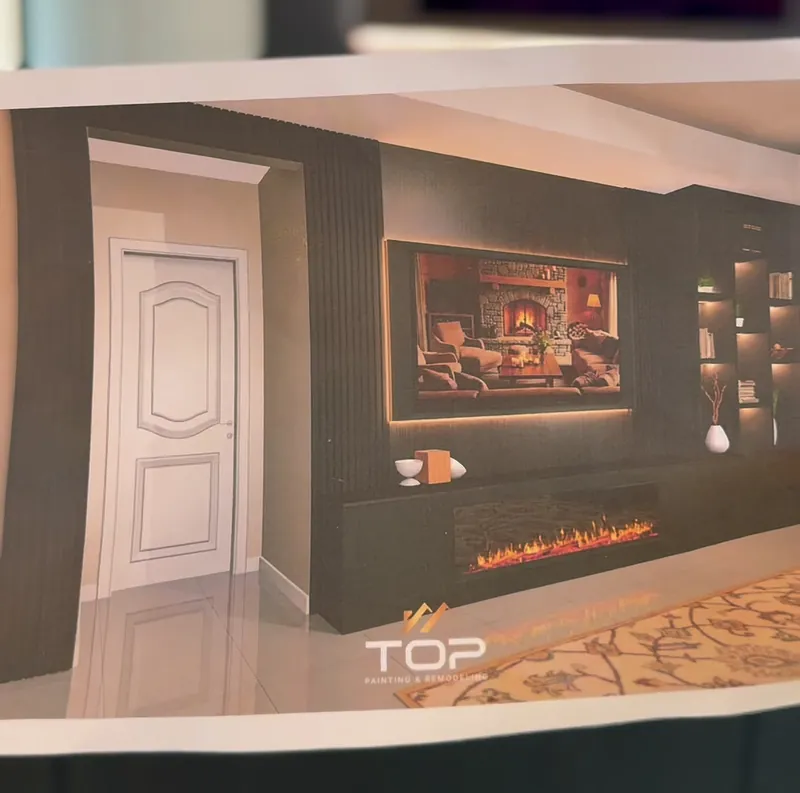
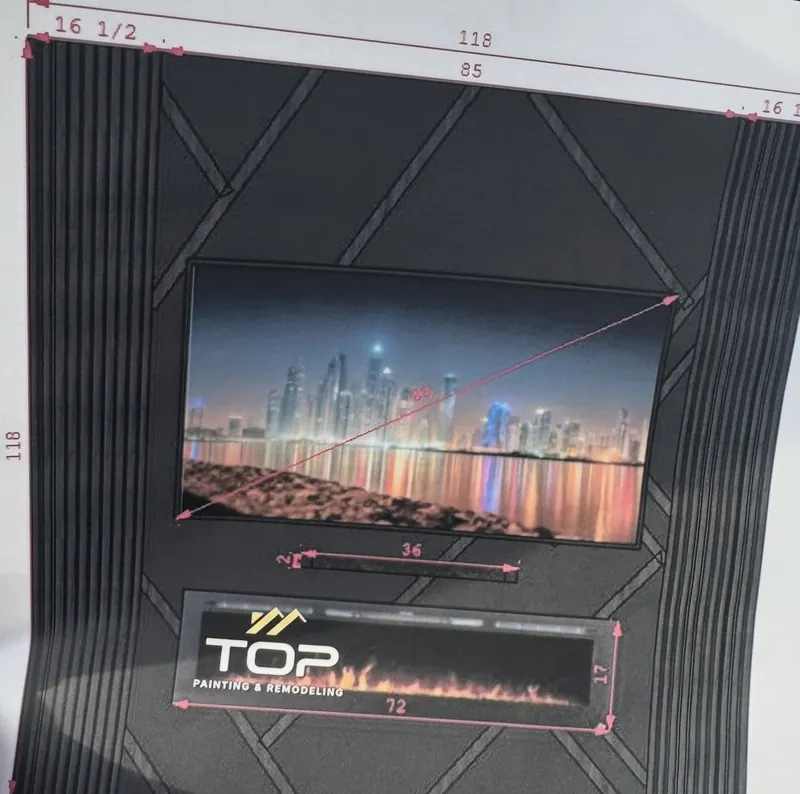
Photo of the printed color drawing of the graphite wallThe drawing
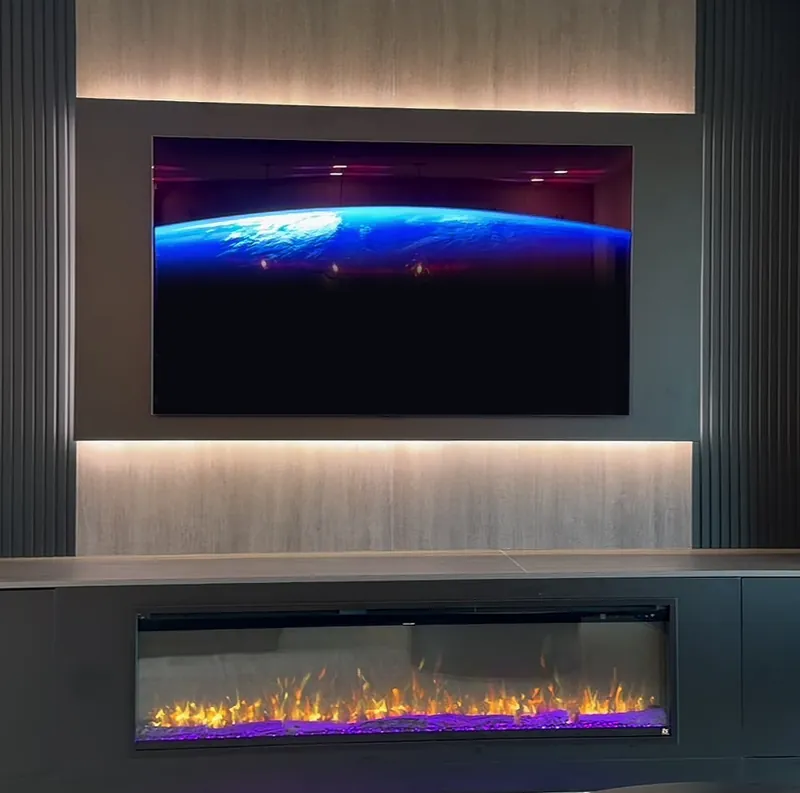
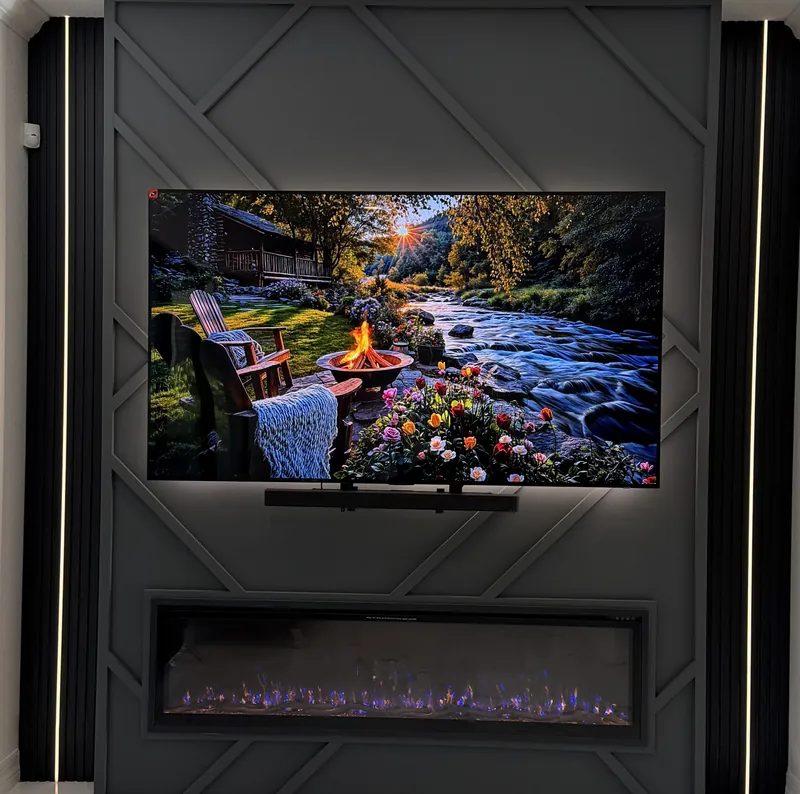
The finished graphite wallThe finished wall

No. 07 · Graphite Diamond Wall

Diagonal trim, black slats, the TV and the fireplace, as drawn.

A photo of the printed drawing, and the wall built from it.

See this wall

The printed color drawing held up in the finished roomThe drawing
The finished wallThe finished wall

No. 12 · Light Band Media Wall

The drawing, held up in the finished room.

The dark center panel, the slats and the linear fireplace sit where the drawing put them.

See the Collection
Chapter I · We build

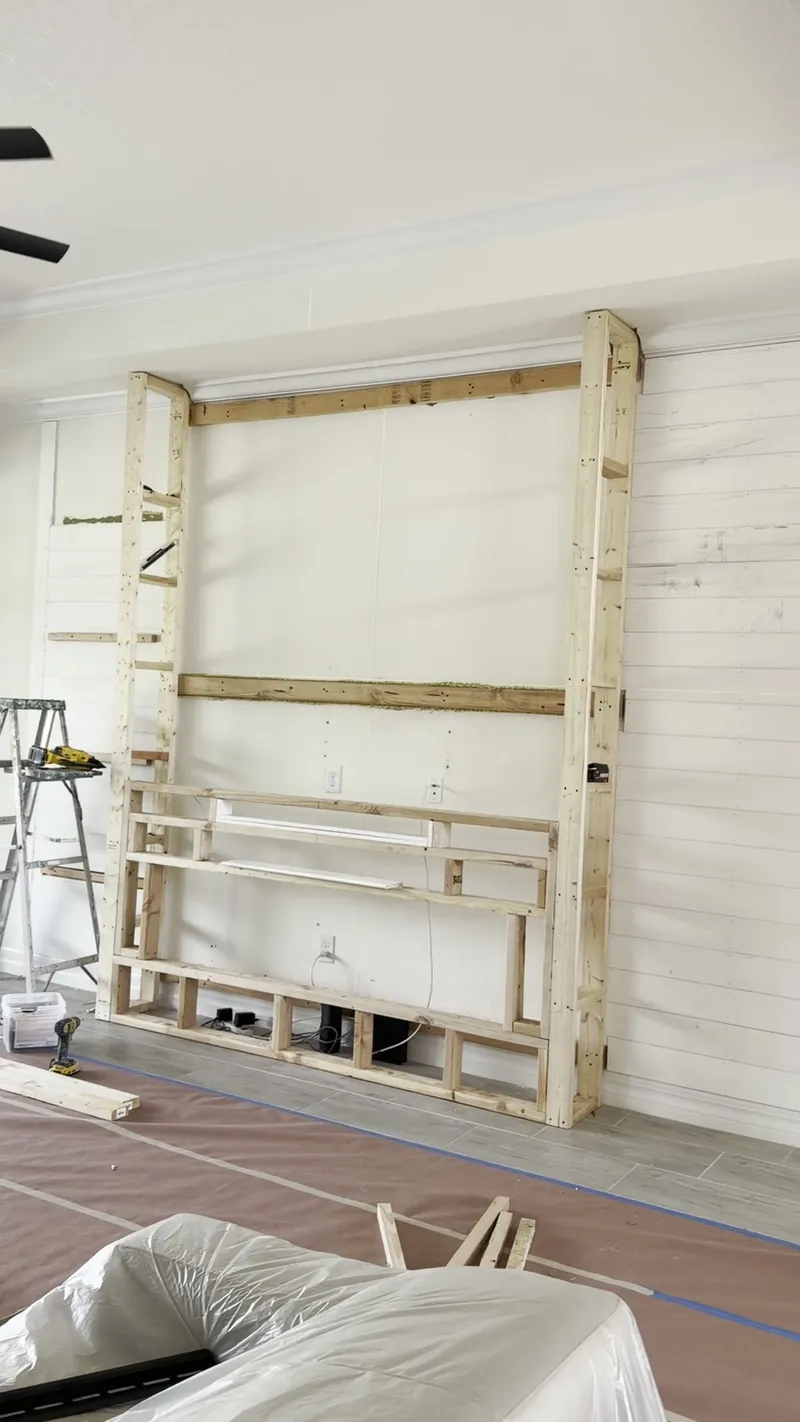
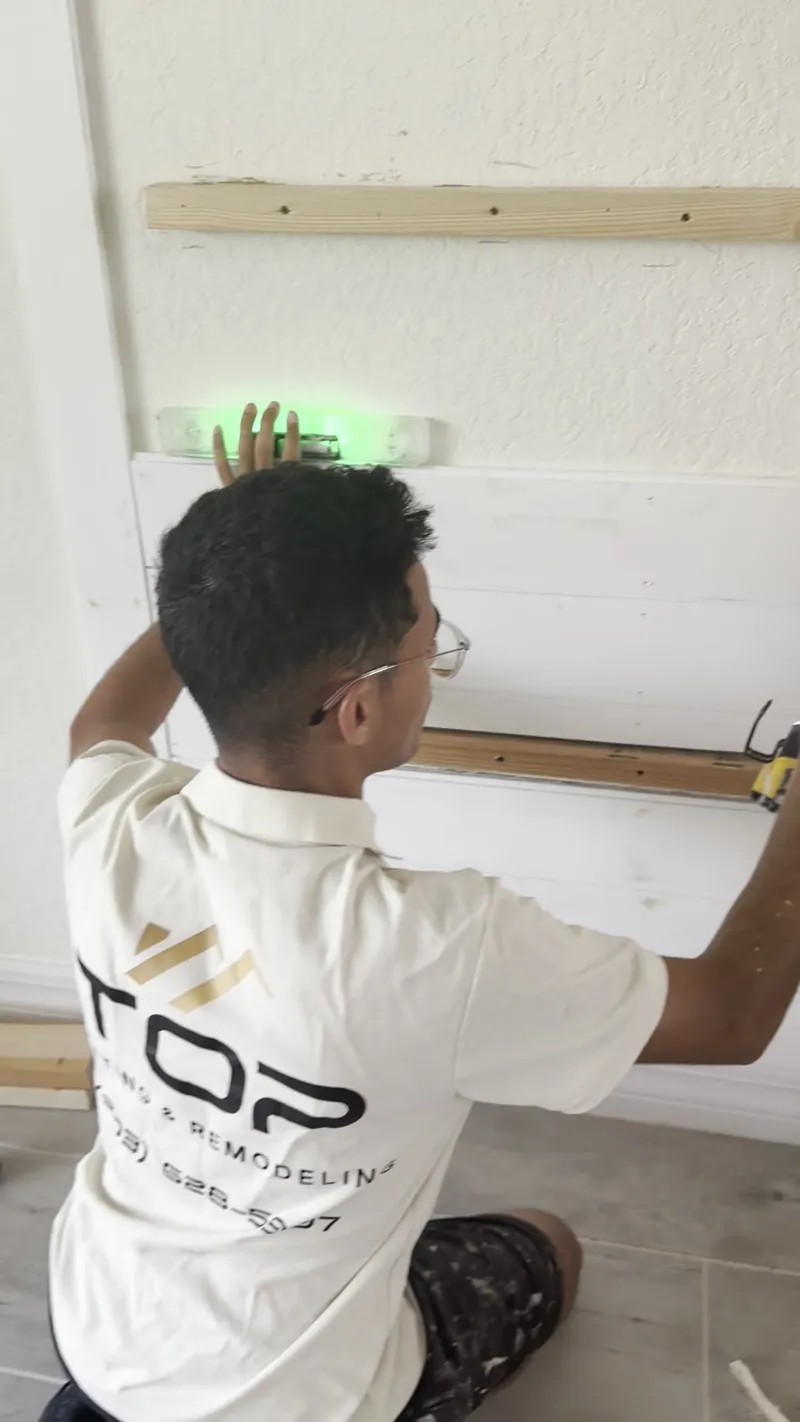
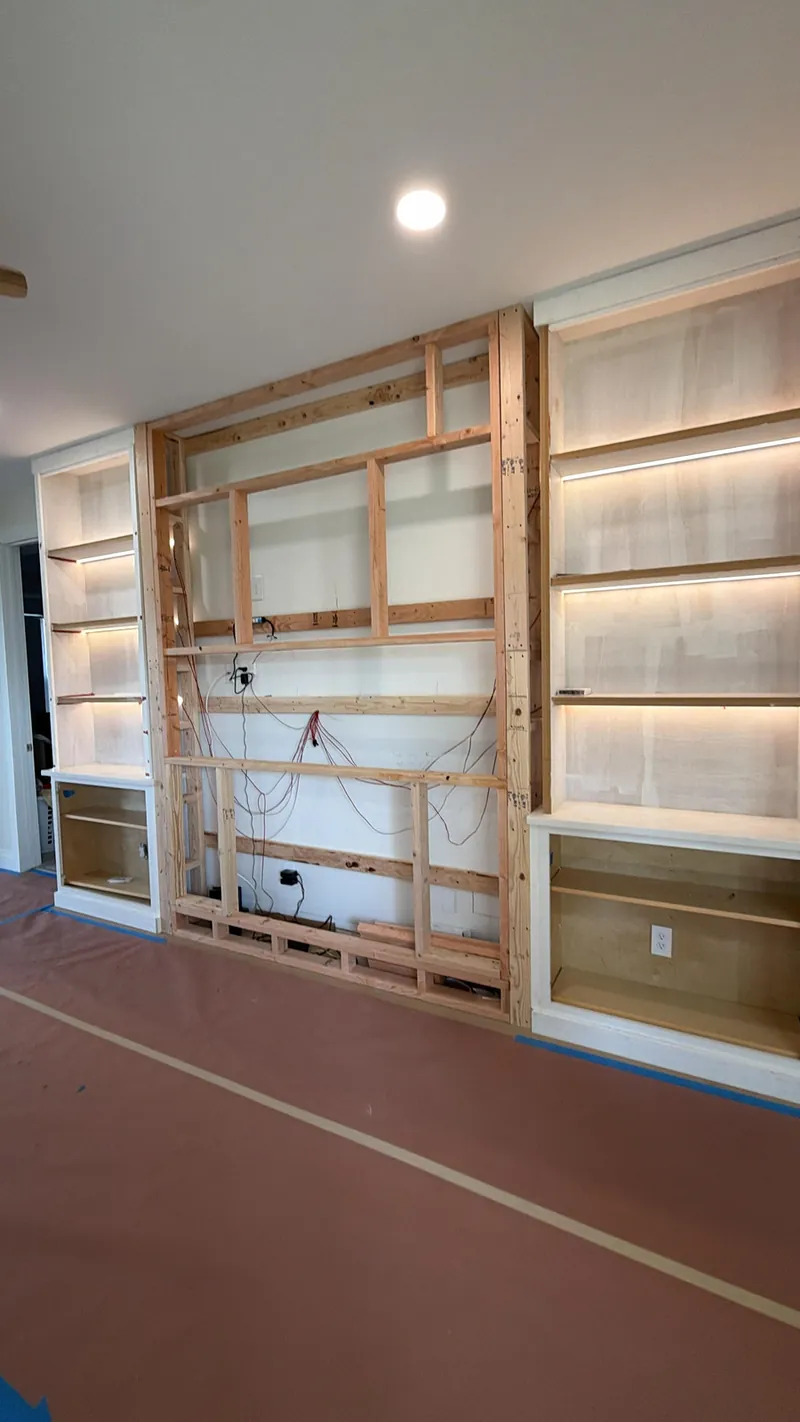
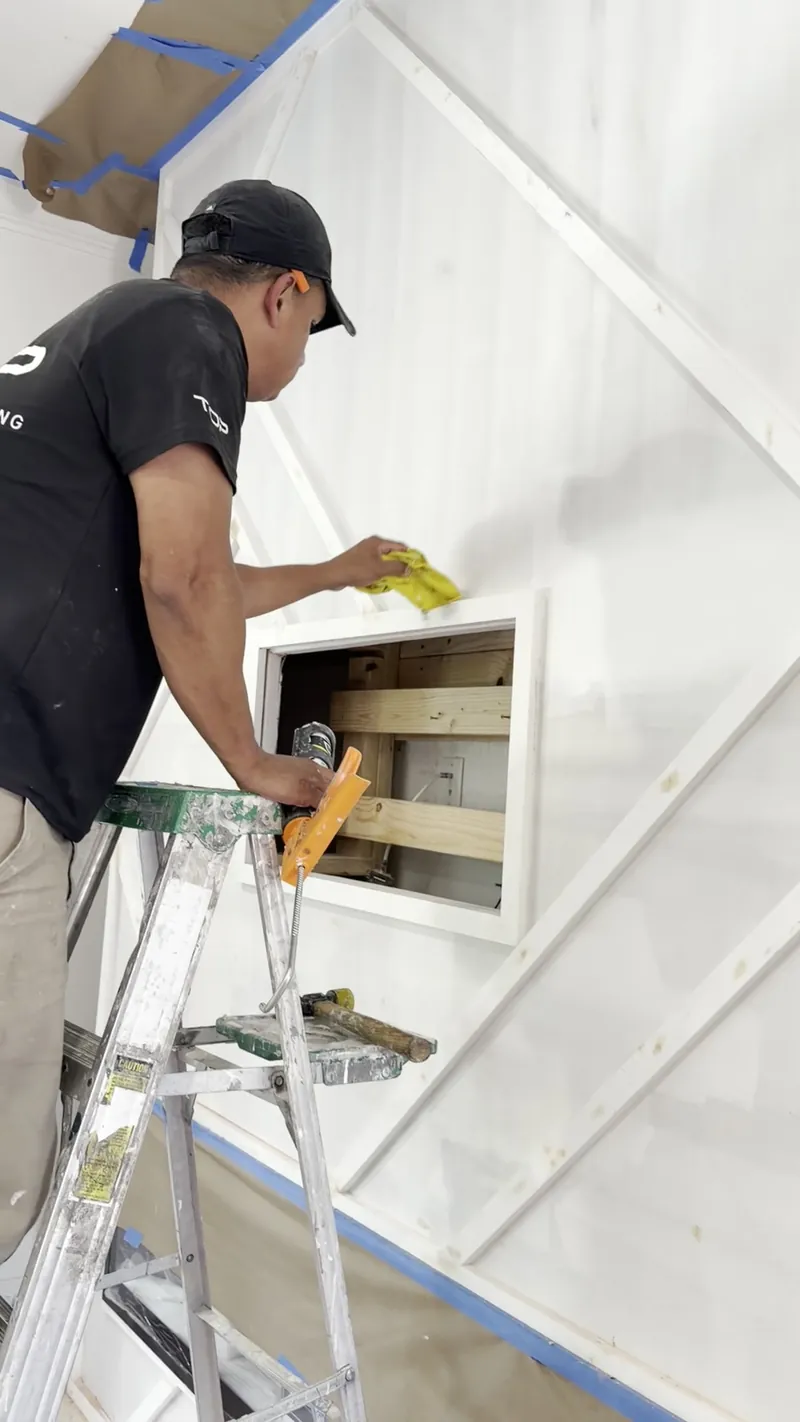
Built in Layers.

First the floors are covered and the frame goes up.

Power and cables are planned inside the wall before it is closed.

Then come the stone, the panels, the shelves and the light.

  1. A new wood frame standing in front of the old wall
    01A new frame goes up in front of the old wall.
  2. A team member setting level lines with a green laser
    02A laser sets the level lines.
  3. Framing and shelf boxes with the shelf lights already in place
    03Shelf lights, in place before the wall is closed.
  4. A team member fitting panels and trim by hand
    04Panels and trim, fitted by hand.
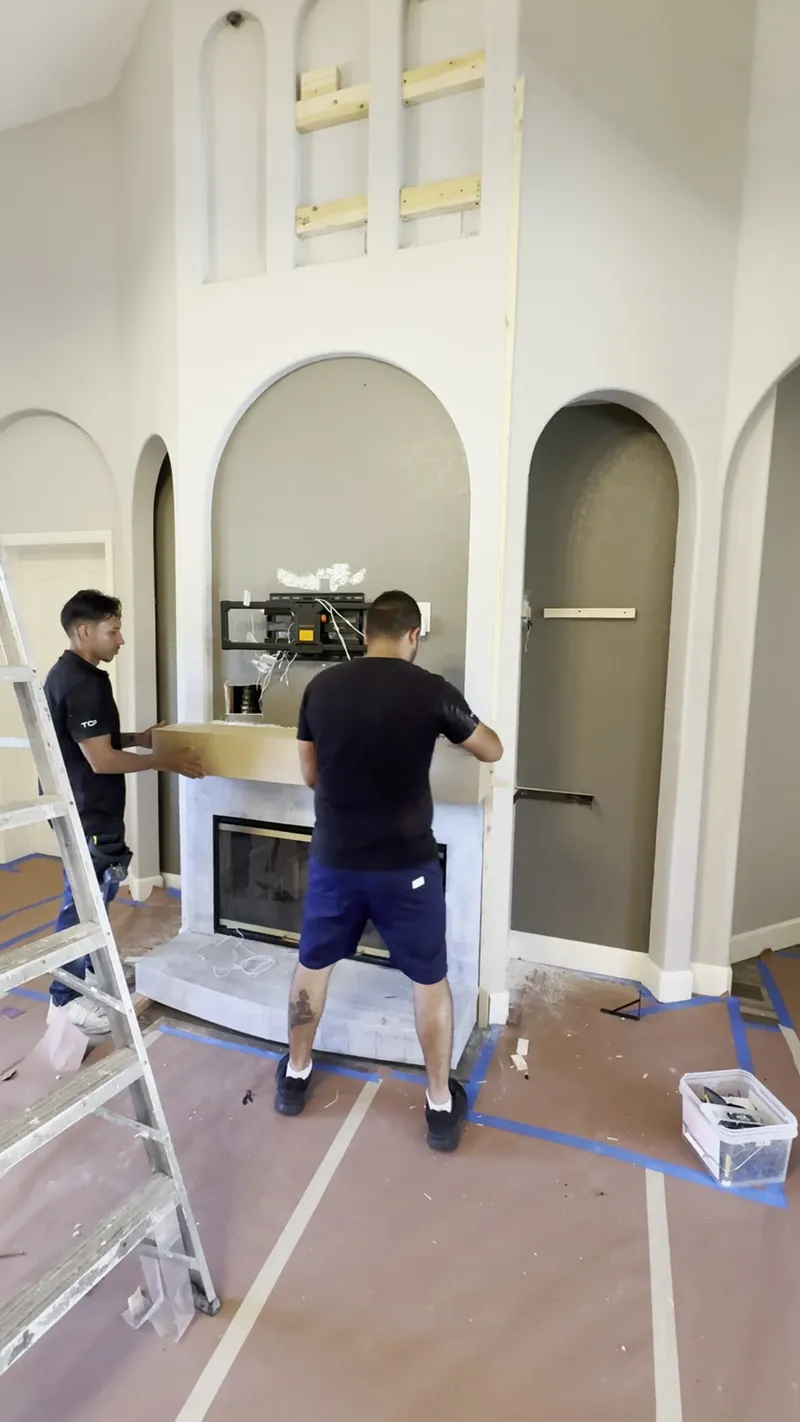
  5. Two team members setting a mantel over the fireplace
    05The mantel goes in over the fire.
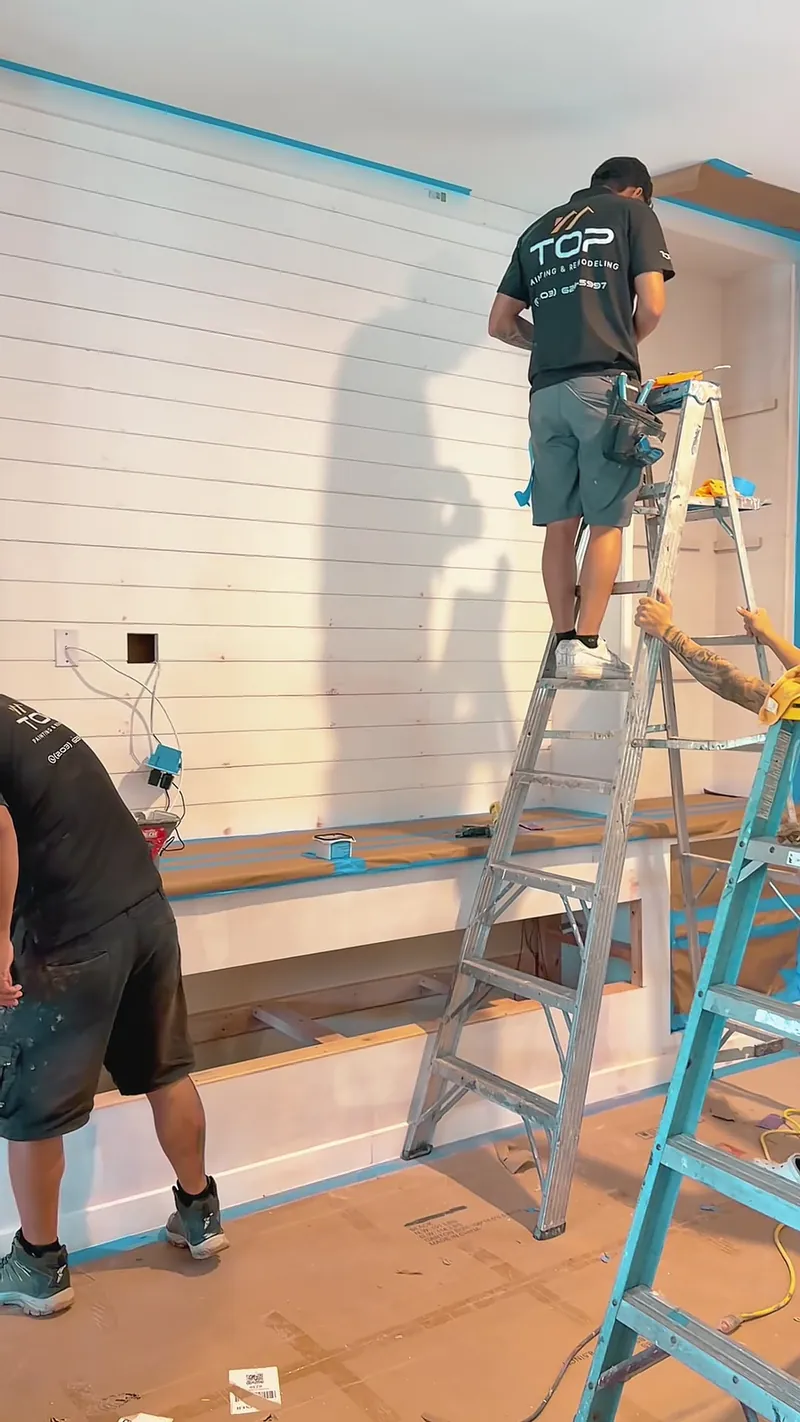
  6. A team member on a ladder installing shiplap boards
    06Shiplap, board by board.
A question homeowners ask

How the Shelves Float.

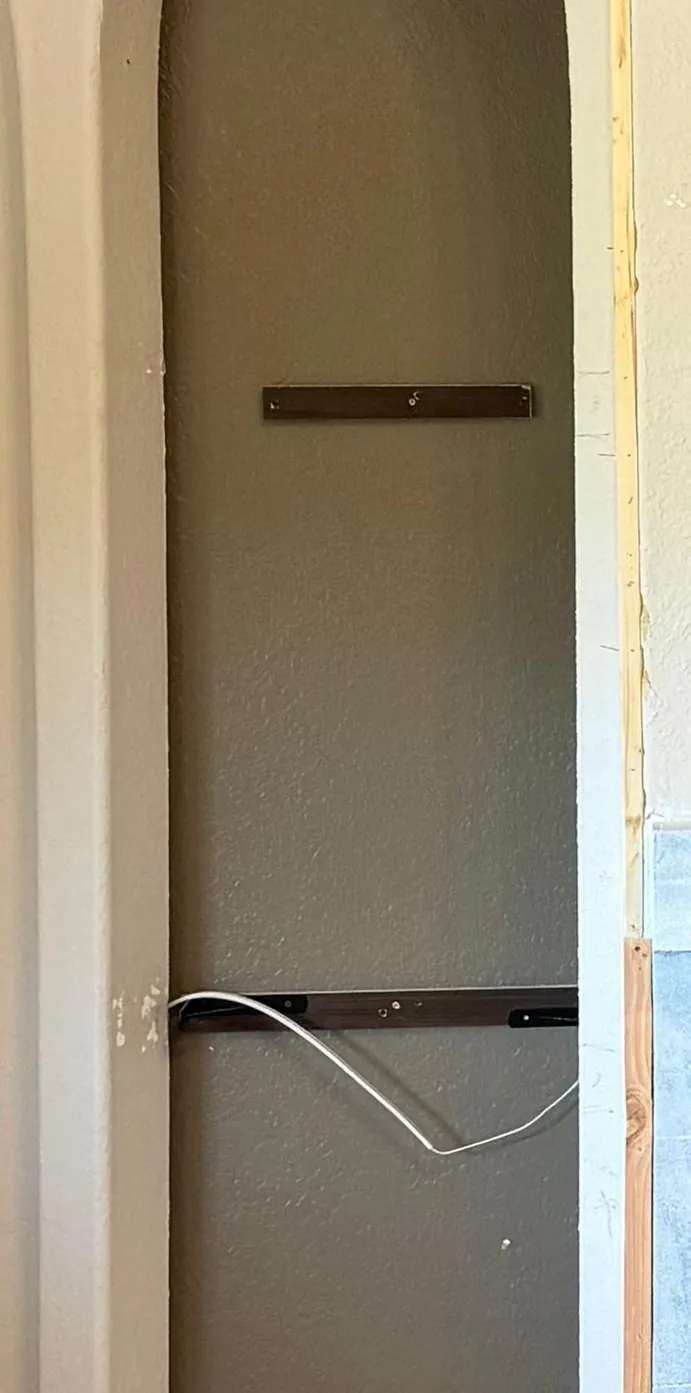
A hidden support is fixed to the wall before the shelf goes on, and the shelf covers it.

An arch of the Arched Cathedral Fireplace before the shelves went on, with two hidden supports fixed to the wallNo. 06 · Before the shelves
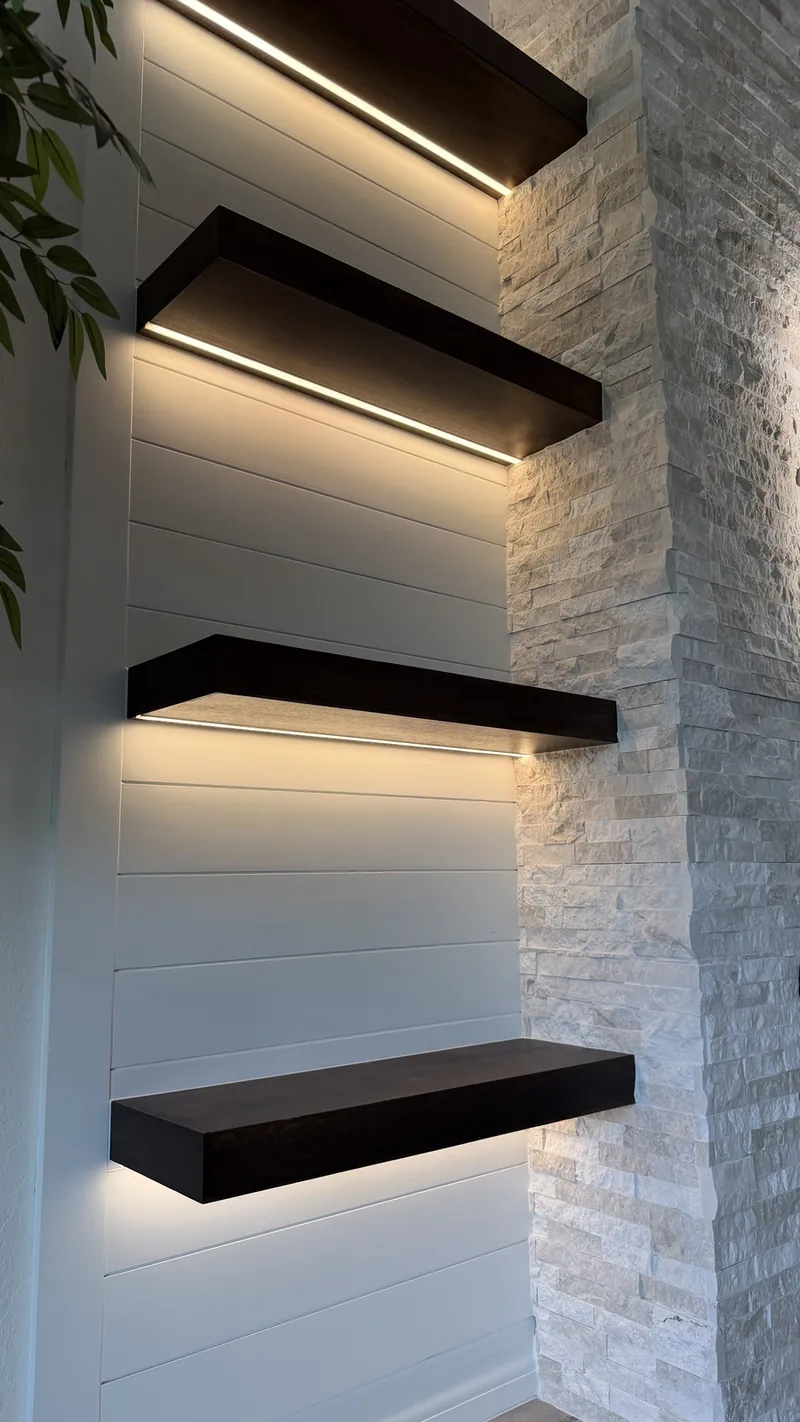
Espresso-tone floating shelves lit from below beside white stacked stoneNo. 02
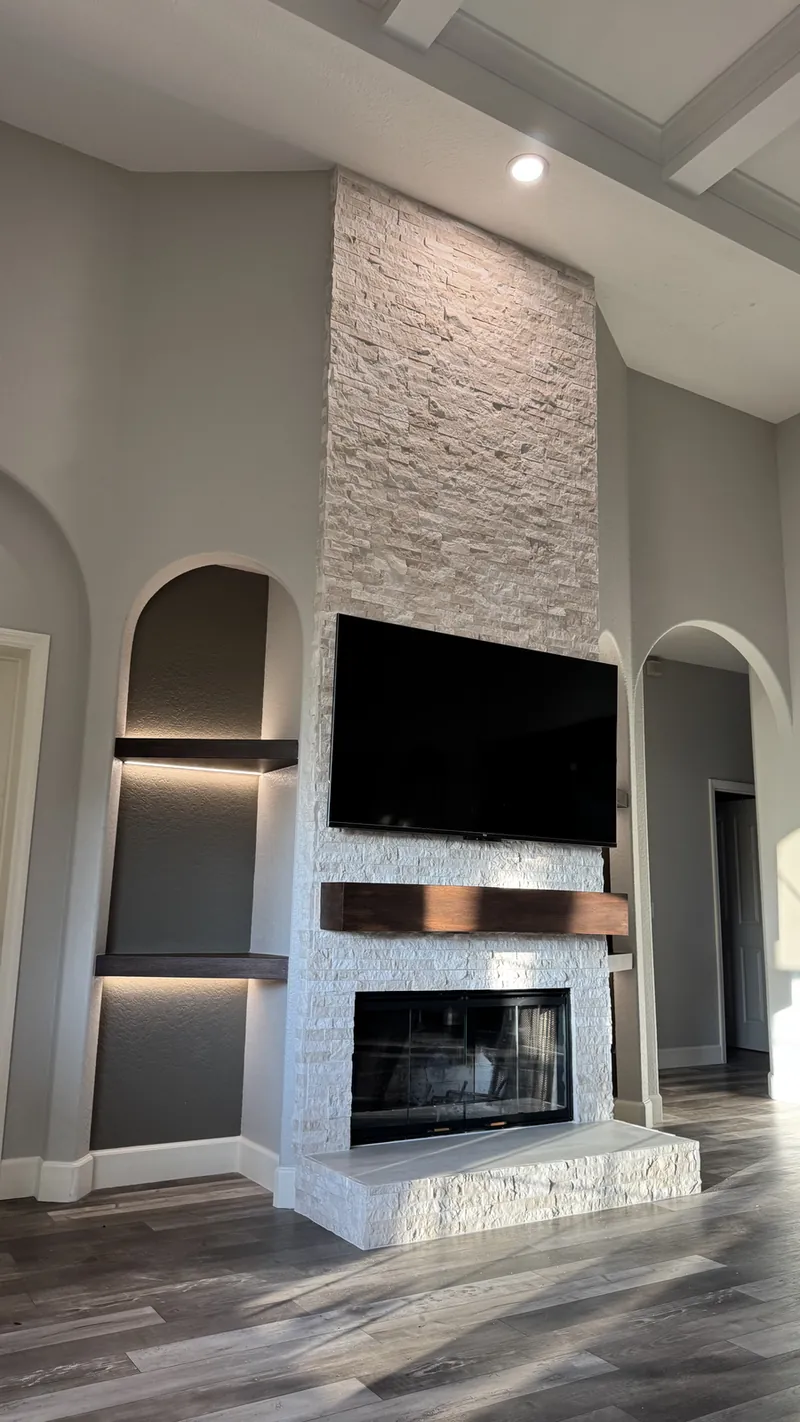
Lit dark shelves in an arched niche beside a stone fireplace wall with a dark mantelNo. 06
Dark floating shelves with warm built-in lightNo. 09
Chapter II · One remote

One Remote. Every Light.

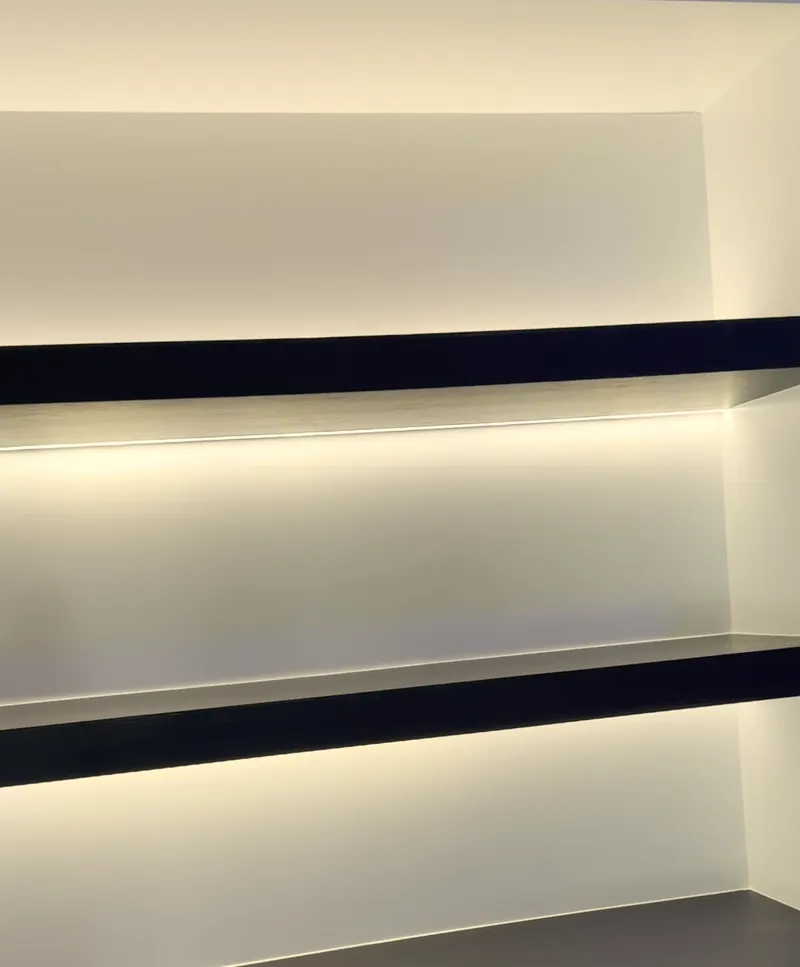
Lighting set into the millwork, so it glows instead of shines.

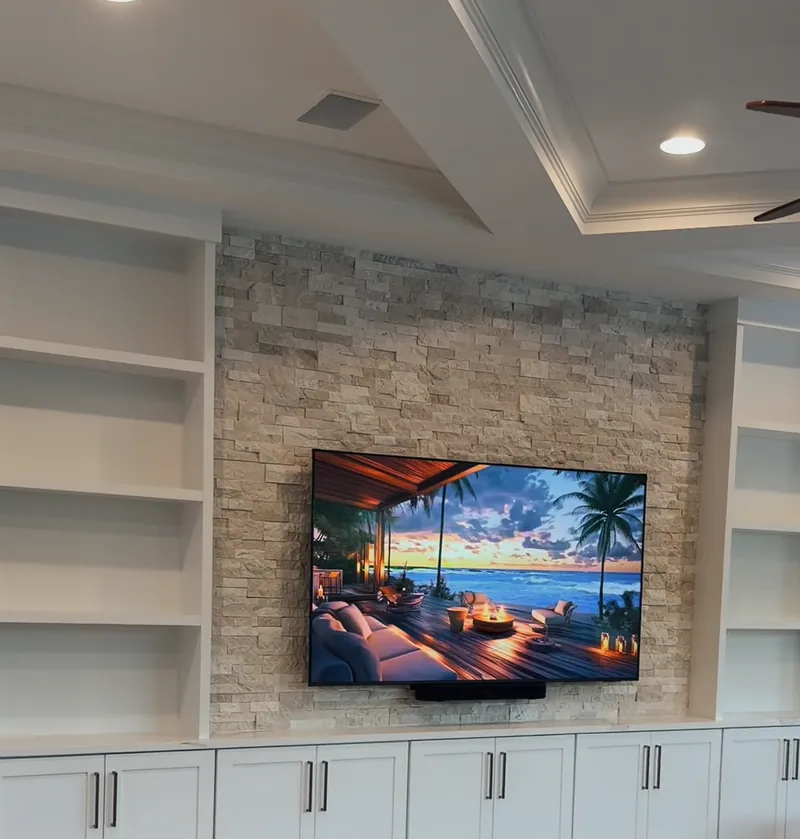
The wall with the shelf and stone lights off, only the TV onLights off
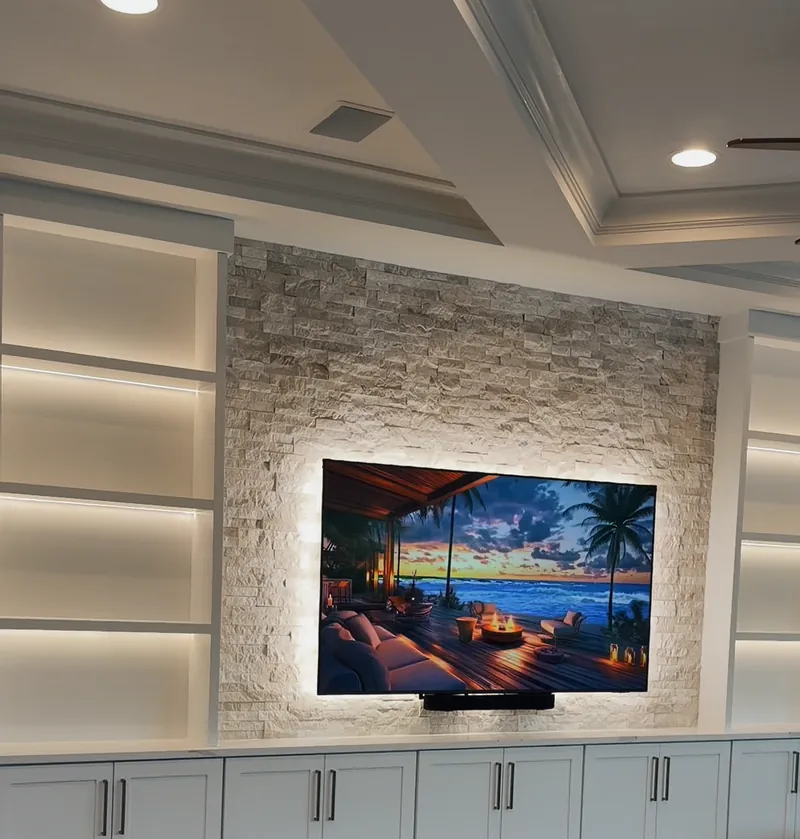
The same wall one press later, with the shelves and the stone litLights on
No. 08 · White Tower Media Wall. Same spot, one press apart.
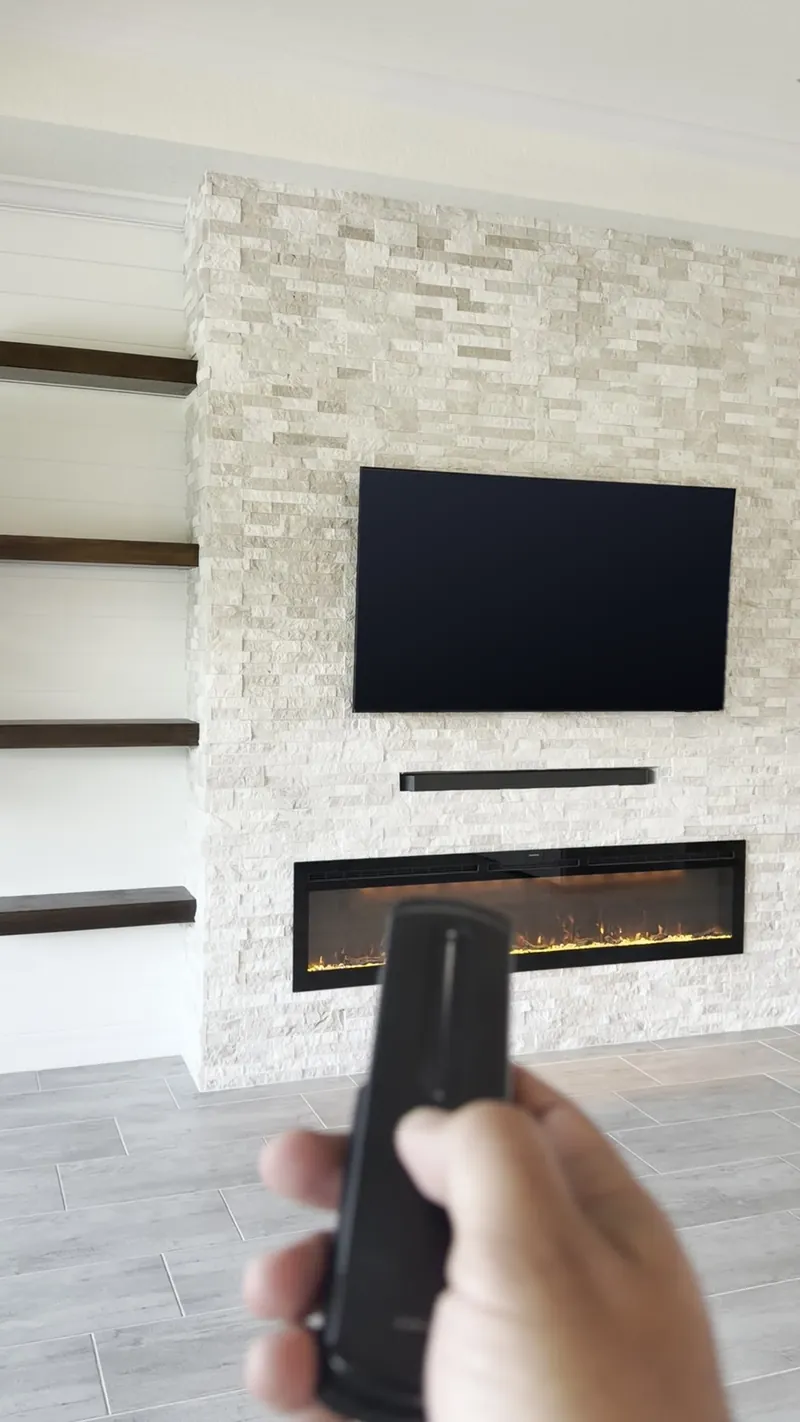
A hand pointing the remote at the lit stone wall
The remotePointed at No. 02 · Lit Shelf Stone Wall.
  1. Every LED is built into the wall and the shelves. You see the glow, never a loose strip or wire.

  2. One press of the remote turns on the light behind the TV and the lights under the shelves, together.

Chapter II · Fire

Fire in one long line.

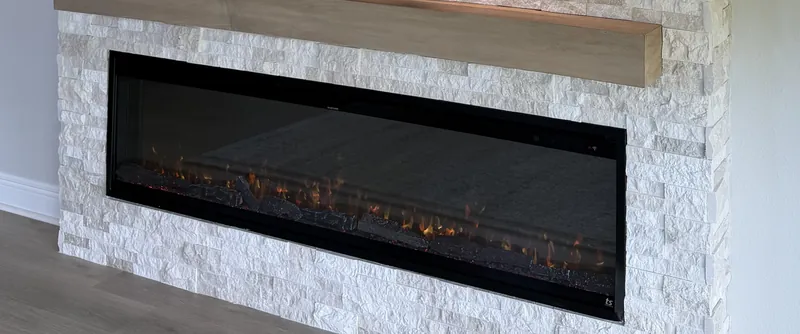
A long, low electric fireplace, set flush into the stone. The rest of the wall lines up around it. Add a mantel above, or keep the stone clean.

One long line of fire set into white stacked stone, under a light wood-tone mantel
No. 01 · Driftwood Stone ColumnThe glass is smooth. The stone is not.
The electric fireplace we recommendTouchstoneSideline Elite Pro, 72 inch: a crackle sound with its own volume, six flame colors, thirteen ember colors and a down‑light under the fire.
Chapter II · Your choices

What You’ll Choose.

Eight decisions shape every wall. We make them with you, one at a time. Pick yours here, or skip any you want us to decide.

01Stone or panel
Close view of white stacked stone
02Mantel
A dark wood-tone mantel over a stone fireplace
03Fireplace
A fireplace in a classic white surround
04Shelves
A dark floating shelf lit from below on white shiplap
05Towers and cabinets
A white open tower over Shaker cabinets
06Light
Two dark floating shelves in a white niche, each washed in warm light from below
07Screen and sound
A backlit TV on stacked stone with a soundbar below
08Paint color
Graphite painted panel with raised diagonal trim

Start from the one closest to your taste, then change the mantel, the shelves, the light or the color.

See the Collection
Your wall · Next steps

What Happens Next.

Three steps, from your first photos to your drawing.

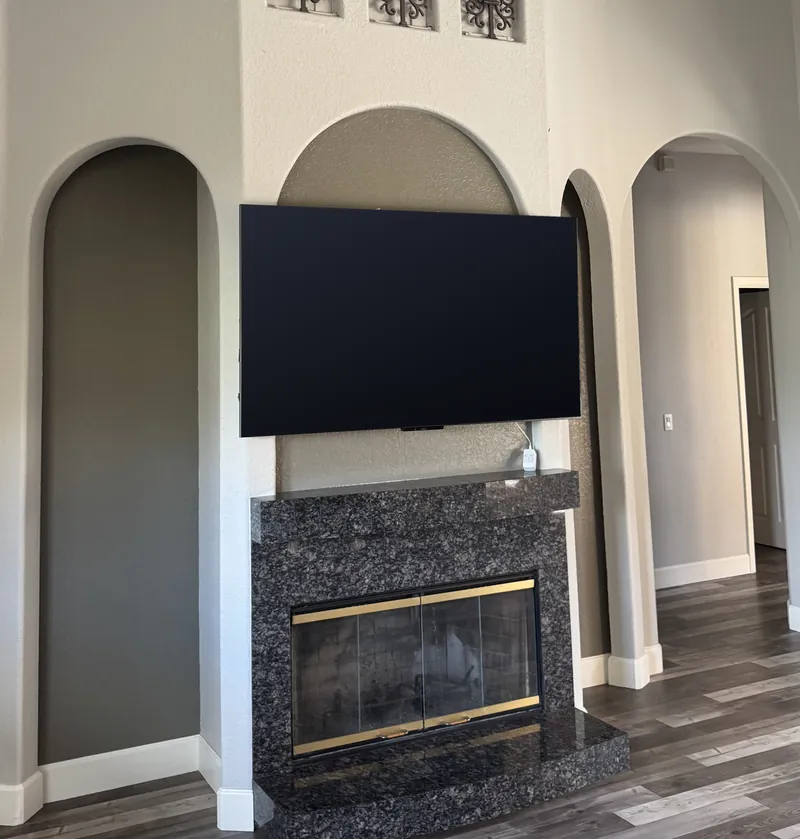
  1. A living room wall with a dark stone fireplace and a TV, as it looked before

    Send us photos

    Your wall as it looks today, and the ideas you love. Screenshots count.

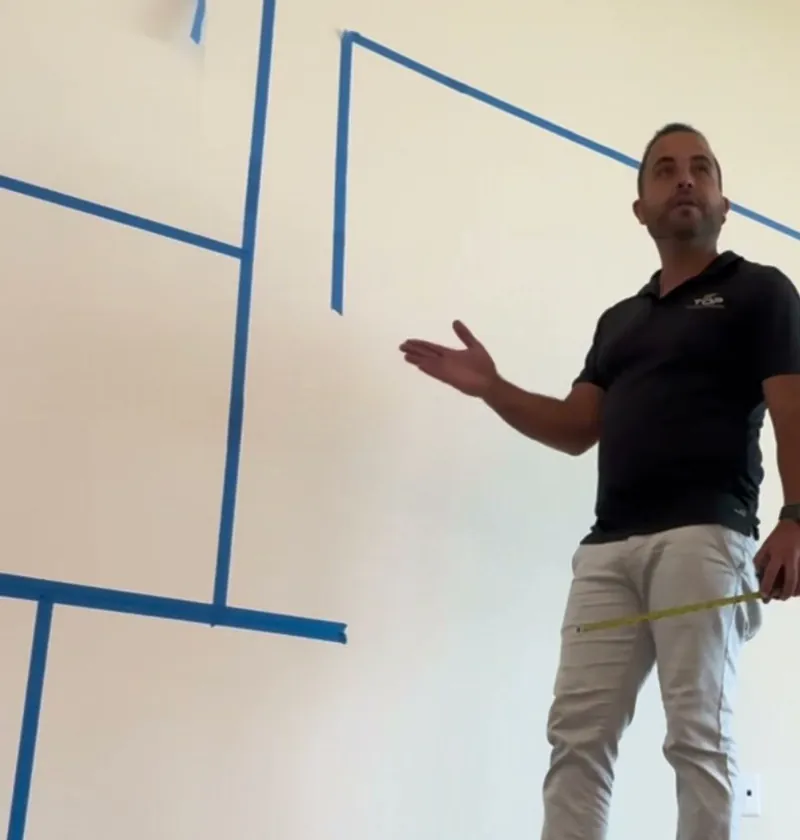
  2. Jesse explaining a layout taped on an empty wall

    We visit and measure

    We come to your home, look at the room with you and measure the wall.

  3. A printed elevation drawing with its measurements

    Your drawing and proposal

    We bring your drawing, with every measurement in inches, and your proposal.

Start with the drawing

Yours Will Be Drawn for Your Room.

Send the form, and the choices you made above go with it. We come to your home, measure the wall and start on your drawing.

Prefer to talk? Call (203) 628-5997.

Send Your Choices

No cost, no obligation.

Have photos? Email them to office@toppaintingremodeling.com.

Your contact details
Your project
Where is the home?

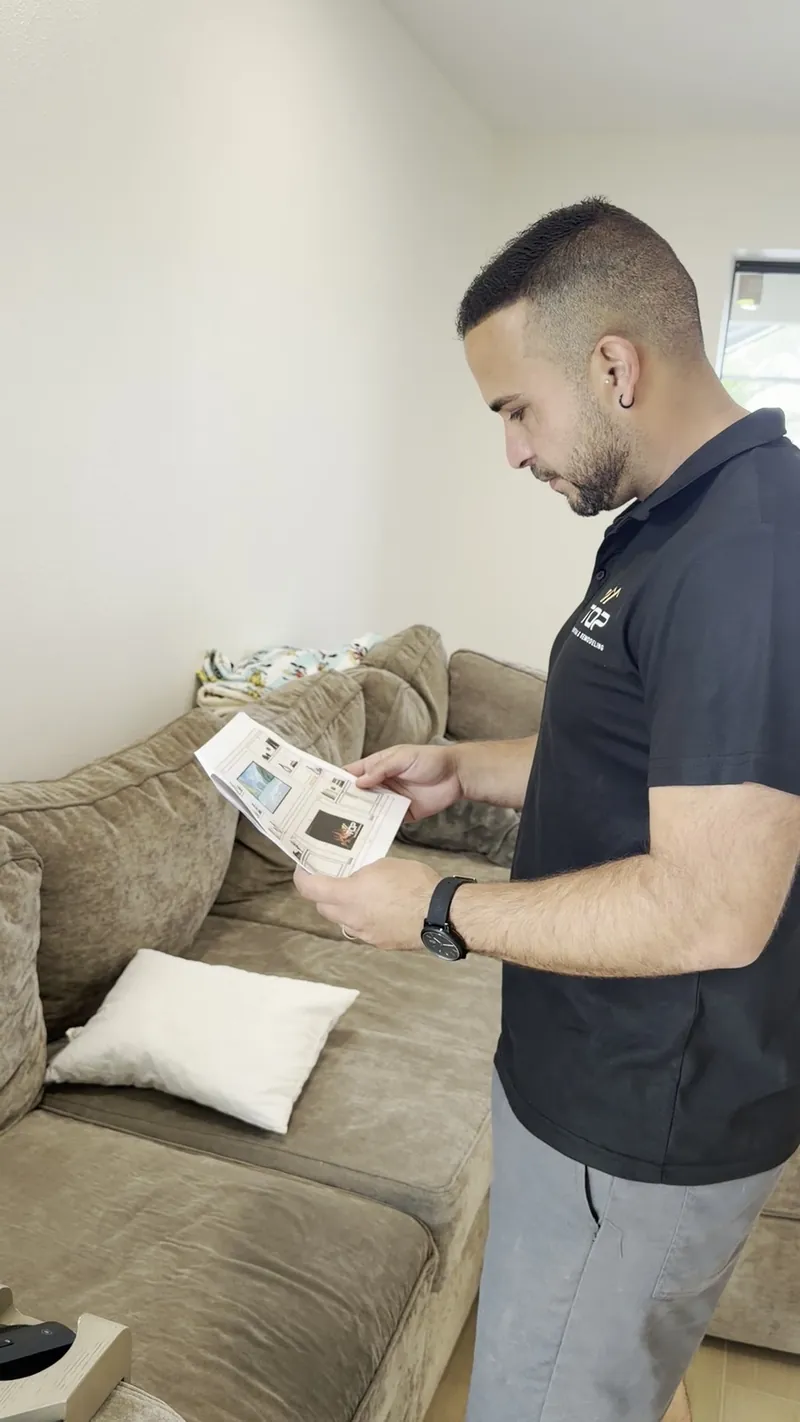
Jesse Junior reading a printed drawing of a wall in a living room
Your wall · Questions

What Homeowners Ask.

Can I send you a reference photo?

Please do. A saved photo, a screenshot, even a design you made with an app. Or skip it and let us design the wall for you.

Do I need an existing fireplace?

No. The Lit Shelf Stone Wall (No. 02) and the Graphite Diamond Wall (No. 07) were both plain walls with a TV in front.

I already have a fireplace. Can you work with it?

Send us a photo, and we’ll tell you. On the Arched Cathedral Fireplace (No. 06), the old dark surround came out and stacked stone now runs to the ceiling.

How does the drawing work?

We measure at your home and sketch the wall by hand. Our designer then draws it to scale, and you approve it before anything is built.

Can I make changes to the drawing?

Yes. The drawing is the moment to adjust proportions, finishes, lighting and storage. Change what you want on paper, then approve it.
Can I start from a wall in the Collection?

Yes. Start from the one closest to your taste, then change the mantel, the shelves, the light or the color.

How do the shelves float?

A hidden support is fixed to the wall before the shelf goes on, and the shelf covers it.
Where do all the wires go?

Inside the wall. Power and cables are planned inside the wall before it is closed, so no cords show.

What do I need to decide?

Eight things: stone or panel, mantel, fireplace, shelves, towers and cabinets, light, screen and sound, and paint color. Pick them in Design Your Wall on this page, or let us help you choose.

How do I schedule the in-home consultation?

Send the form, or call (203) 628-5997, and we will set a time to come to your home.

Is there a cost for the in-home consultation?

No. The visit, the measurements and the conversation carry no cost and no obligation.

What do I get after the visit?

Your drawing, with every measurement in inches, and your proposal.

Let's talk

Which Wall Is Next?

Every wall we build is drawn for one room. Yours will be too. Call or send the form, and we'll start with the drawing.

Call (203) 628-5997